Activities
Activities are modules that help students become more involved in learning by interacting with other students or teachers.
This module enables a teacher to communicate tasks, collect work and provide grades and feedback.
Students can submit any digital content (files), such as word-processed documents, spreadsheets, images, or audio and video clips. Alternatively, or in addition, the assignment may require students to type text directly into the text editor. An assignment can also be used to remind students of ‘real-world’ assignments they need to complete offline, such as art work, and thus not require any digital content. Students can submit work individually or as a member of a group.
When reviewing assignments, teachers can leave feedback comments and upload files, such as marked-up student submissions, documents with comments or spoken audio feedback. Assignments can be graded using a numerical or custom scale or an advanced grading method such as a rubric. Final grades are recorded in the gradebook.
The assignment settings have many items, including grades, type of assessment, type of assignment, and more. Each item has a detailed description that can be found by clicking the question mark icon next to the item.
When you open an activity assignment, you can see an overview of how many participants your course has, how many assignments have already been submitted, etc. Below the summary are the buttons View all submissions and Grade. Click on Grade to start ranking all students and their assignments (submitted and not submitted). Clicking the View all submissions button will open a table with details of the students and their assignments. If you have set up a group submission mode within an assignment or course, you can filter participants by groups – so you can assess, for example, only a particular parallel.
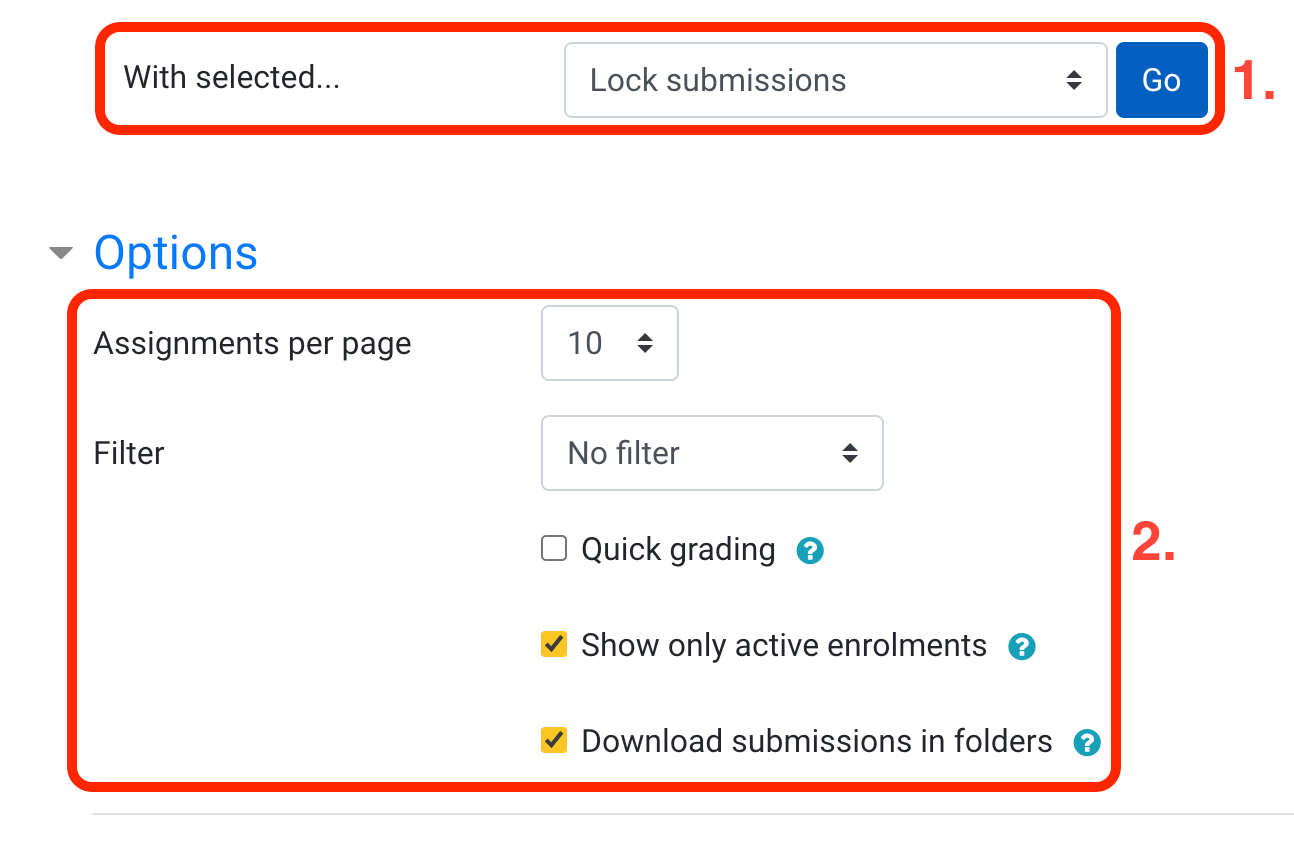
We can use bulk actions after marking selected assignments. In the dropdown menu under the list of submissions (1), we have the options “Lock submissions” and “Unlock submissions”. Next, “Download selected submissions” to download (named) files to a zip archive (this archive will be named as courseName-nameOfAssignment-idOfAssignment.zip) and to provide an extension of time.
At the very bottom of the page, you have options where you can specify the form of display (number of tasks on the page, filter) (2).
This activity module enables a teacher to take attendance during class and students to view their own attendance record. The teacher can create multiple sessions and can mark the attendance status as “Present”, “Absent”, “Late”, or “Excused” or modify the statuses to suit their needs. Reports are available for the entire class or individual students.
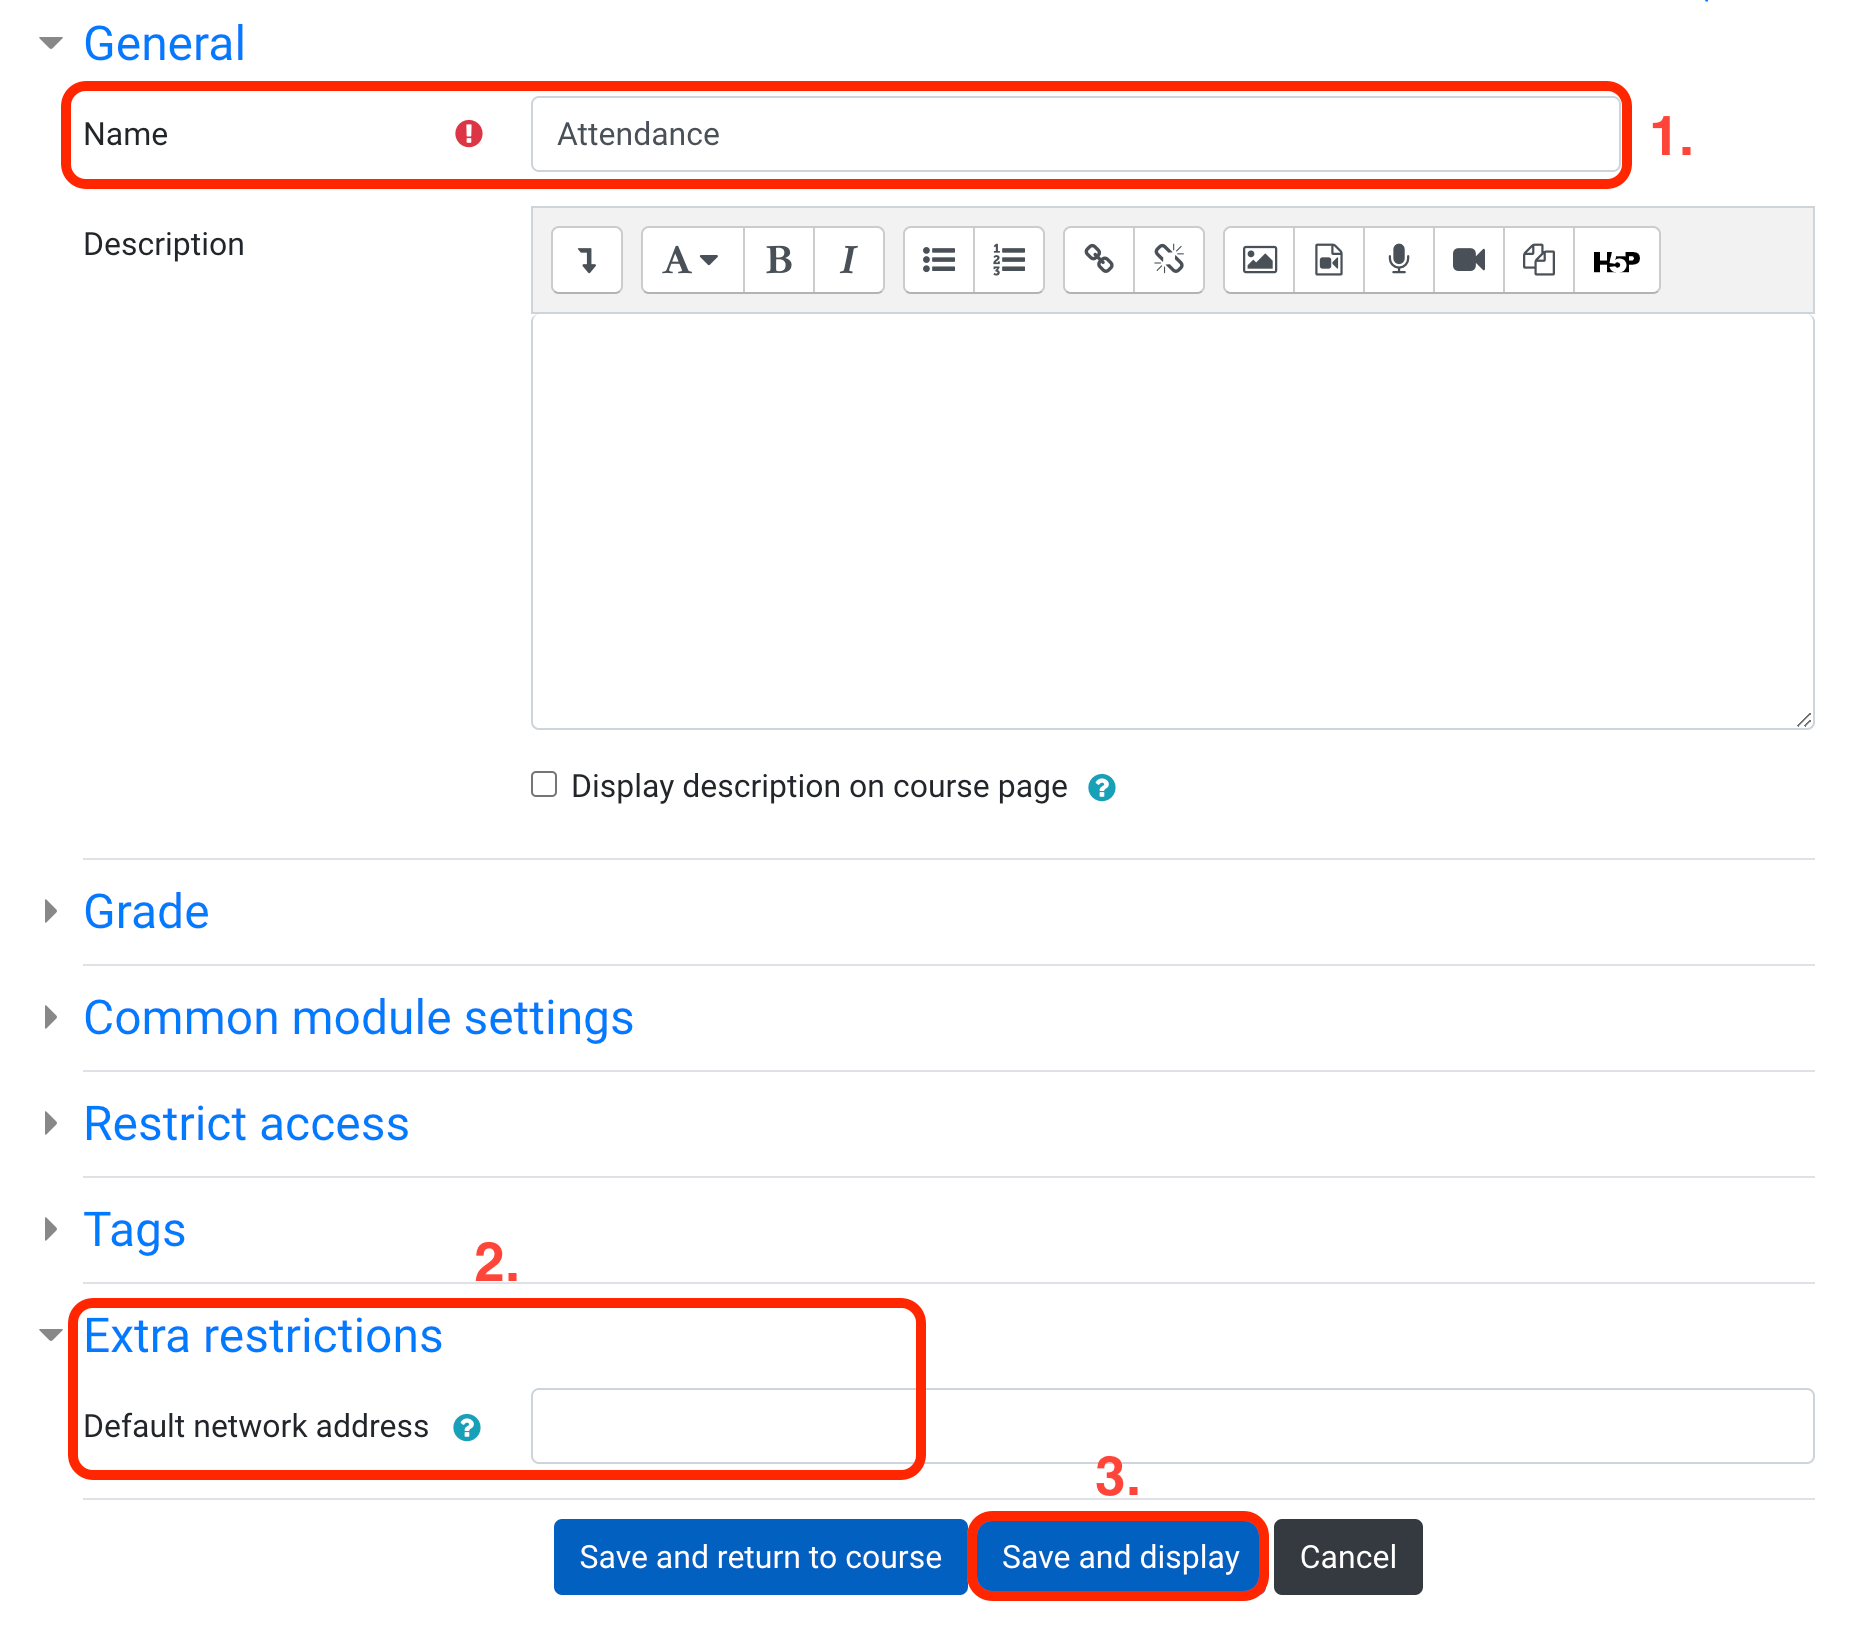
When adding a new attendance modul, you must select Name (1) and decide whether you want to grade the attendance record. The grade can be a scale type (e.g., yes/no) or a points type. Also, you can set additional restrictions on IP addresses (2). For example, you can allow students to take attendance from the school network only.
Further settings follow after saving the activity by clicking on Save and display (3).
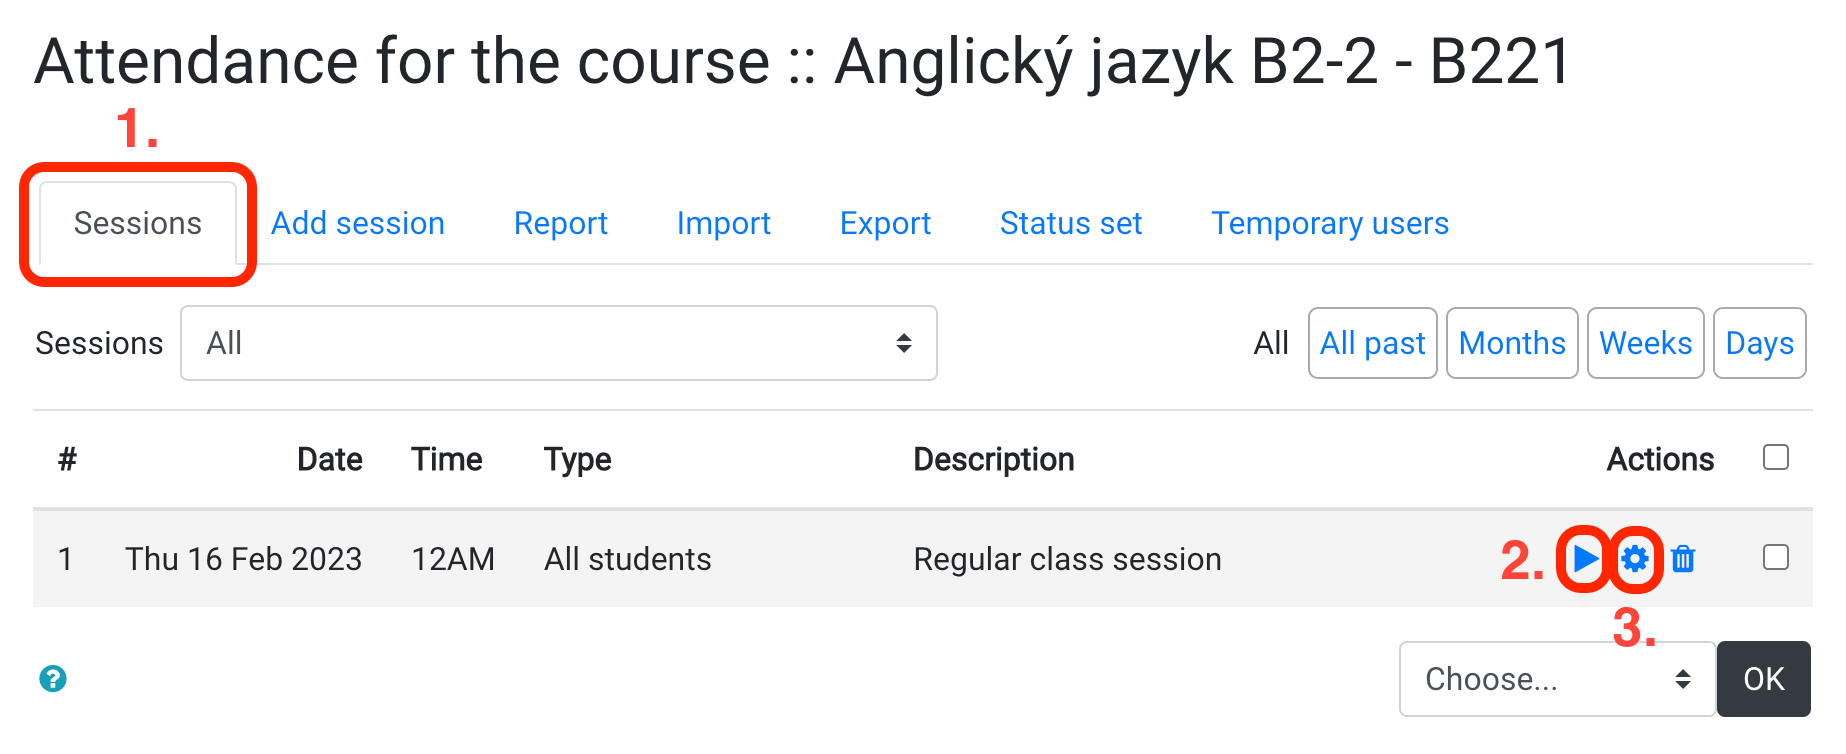
The attendance can be recorded in the Sessions tab (1) by clicking on the Play icon (2). You can edit the already registered attendance by clicking on the wheel icon (3).
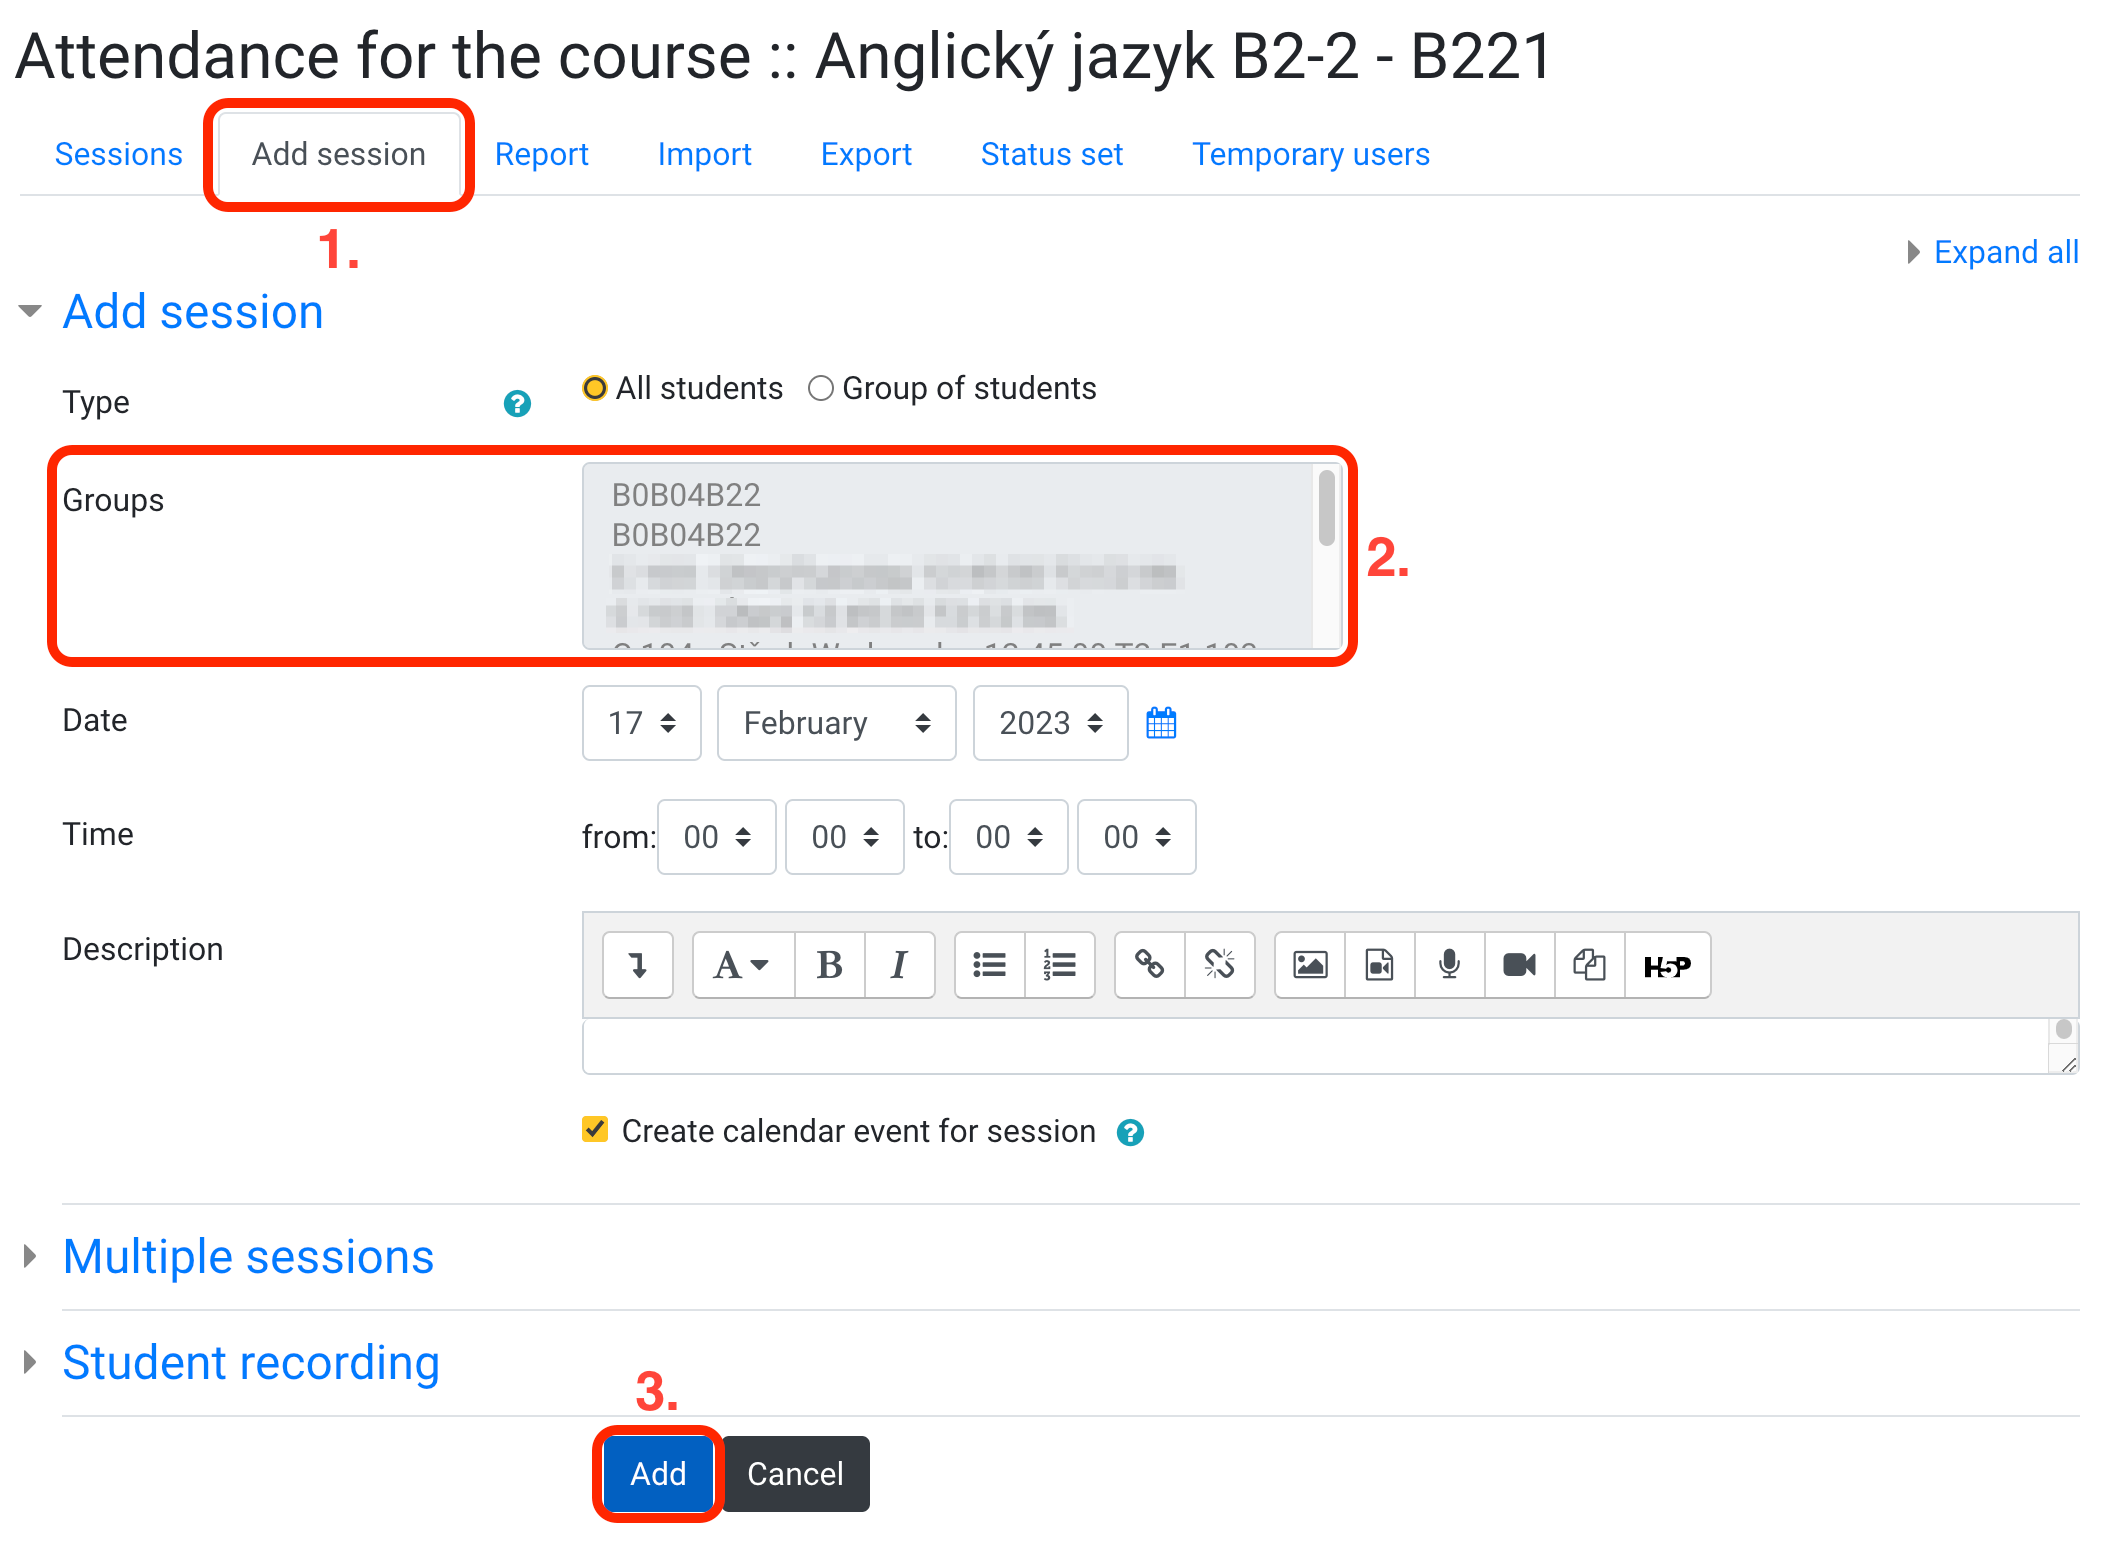
You can define the details of each parallel in the Add session tab (1). If your course has only one joint parallel, select the “All students” type. If you want to create attendance separately for individual groups, select “Group of students” (2) and create the individual sessions in three steps:
- Choose the group from the offer (2). With Moodle integration with KOS, you have the individual parallels prepared in advance.
- Fill in date and time.
- Click the
Addbutton (3).
You can change the possible values for attendance entry in the Status set tab. Here you can modify the name of the attendance status, the corresponding point rating, or the automatic pre-filling, which can be manually edited if necessary.
The choice activity module enables a teacher to ask a single question and offer a selection of possible responses.
Choice results may be published after students have answered, after a certain date, or not at all. Results may be published with student names or anonymously (though teachers always see student names and their responses). This module can be used as a quick poll to stimulate thinking about a topic or to quickly test students’ understanding.
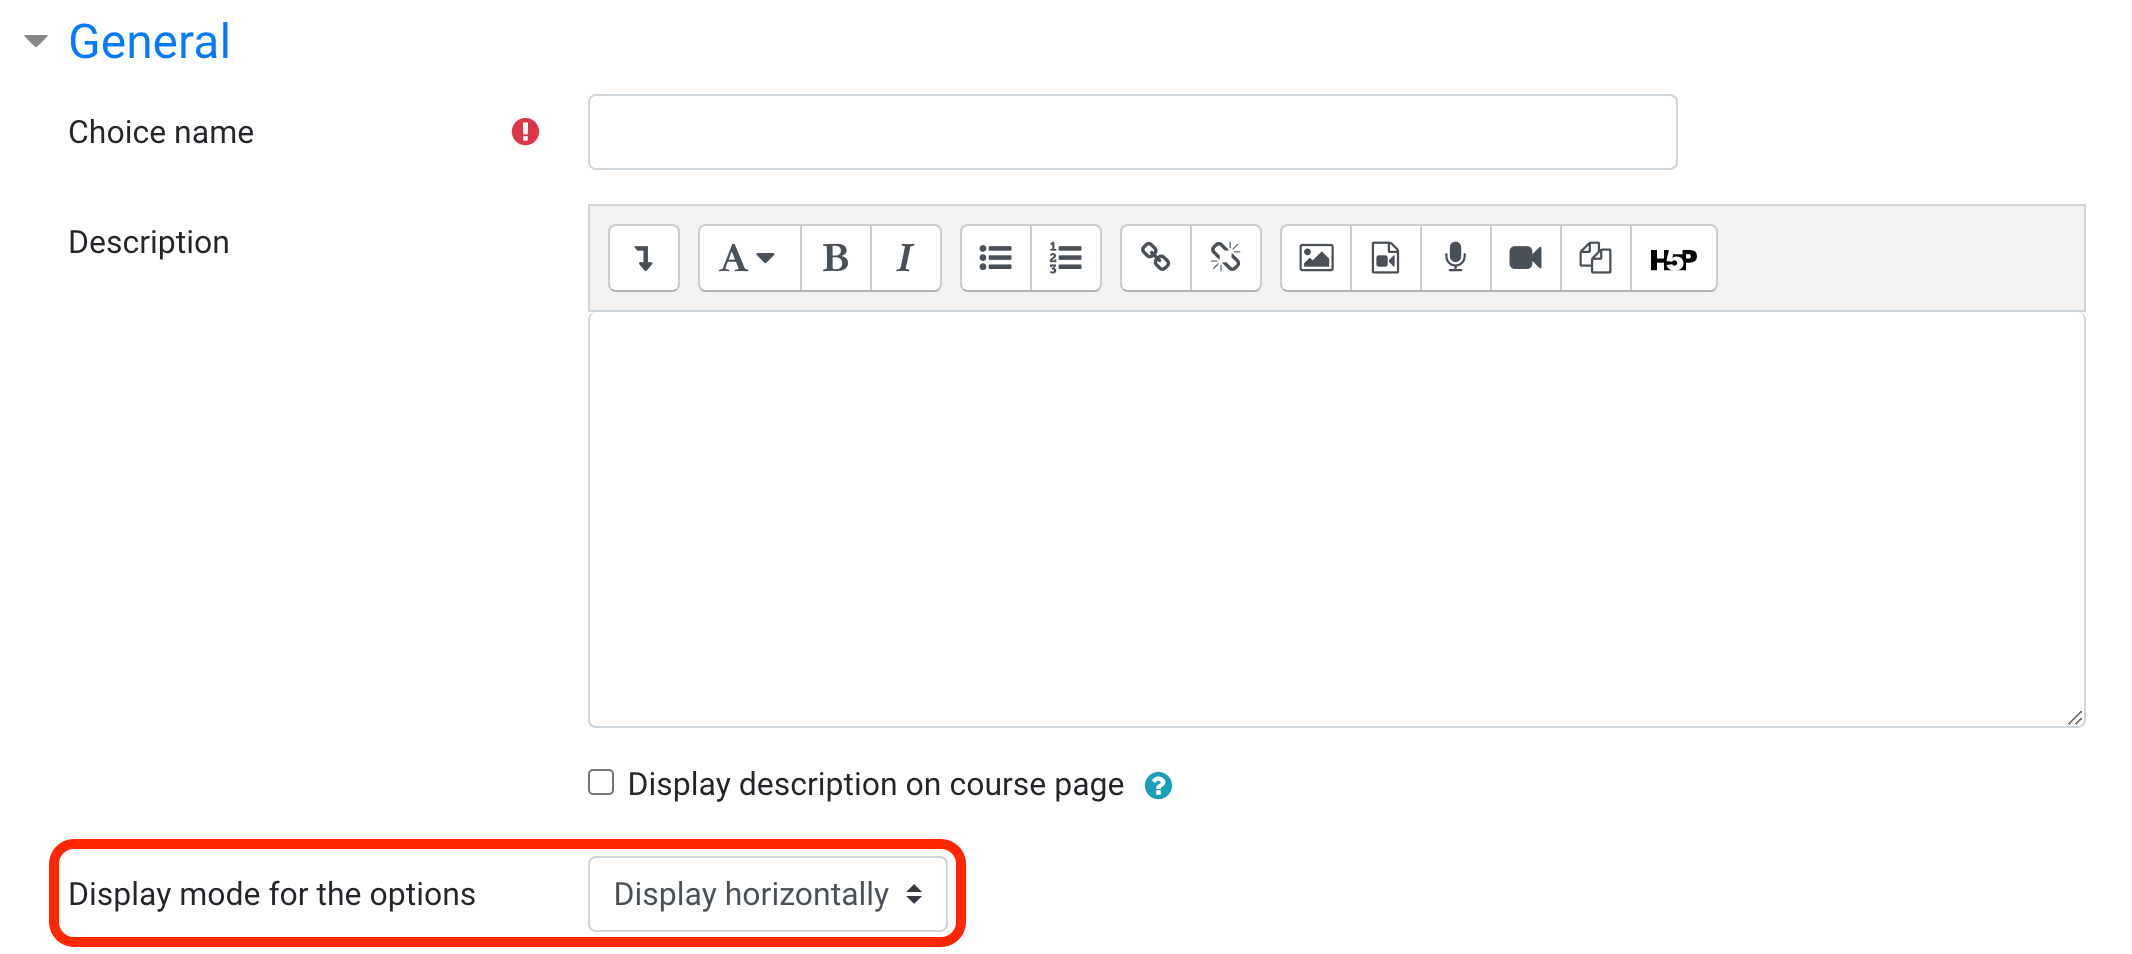
Enter a choice question in the Description field when setting up the module. Then prepare answers to vote from. The choice module has many different settings. It is possible to have more than one option matched, limit availability, and set whether or not to display the results after the poll is closed.
-
Display mode for the options – you can choose how to display the answers – horizontally or vertically.
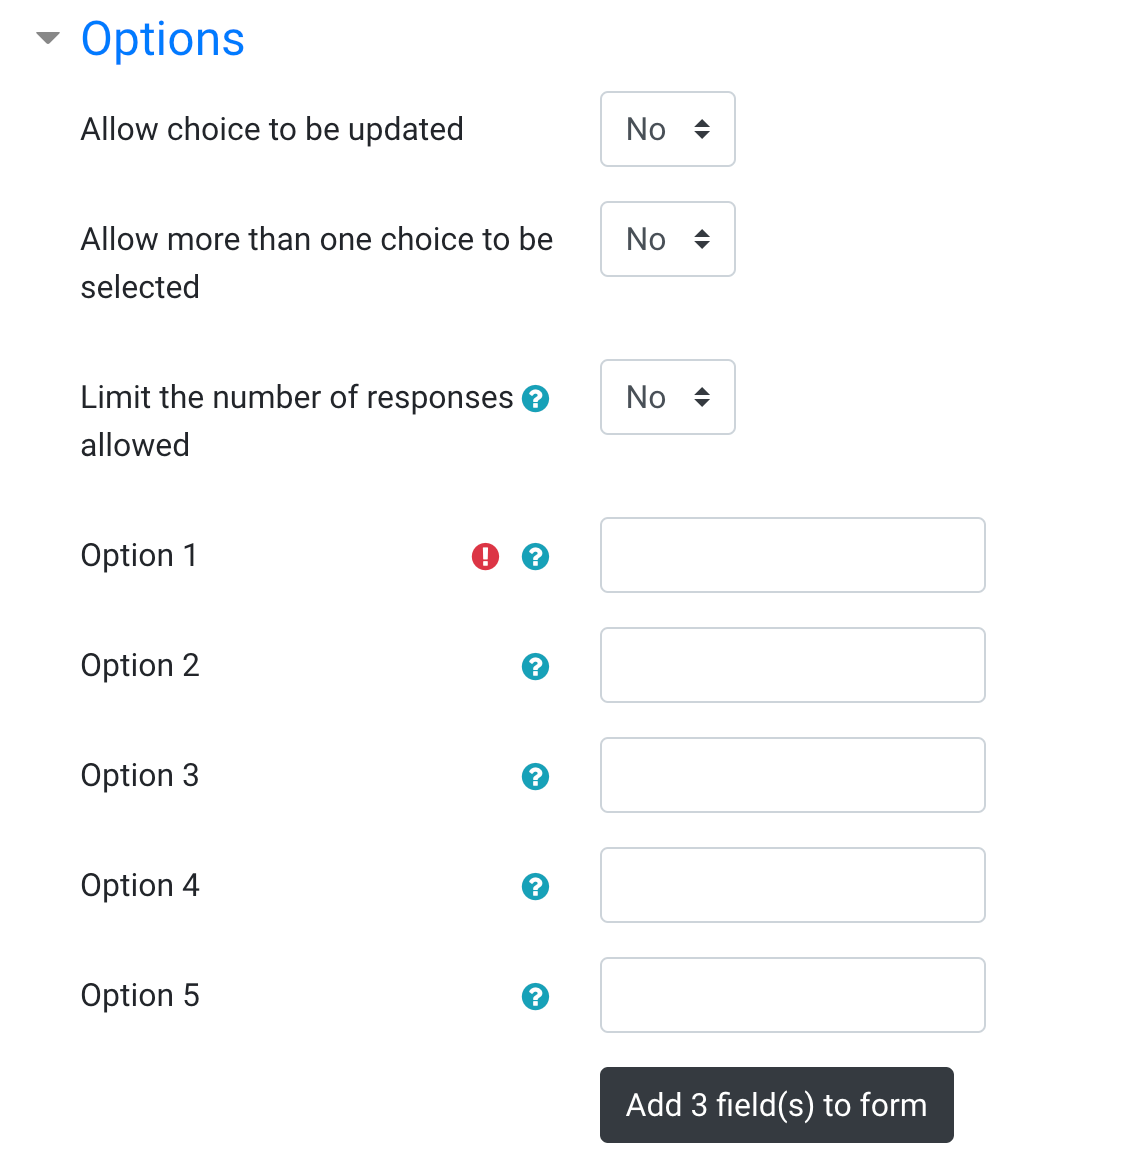
-
Options allow you to set whether students can mark multiple choices or change their votes. Also, you can add more answer options here. Click the `Add 3 fields to form’ button to add new choice fields. If you need fewer choices, leave the unused fields blank, they will remove themselves the next time you edit them.
-
Availability determines the period in which the choice can be accessed.
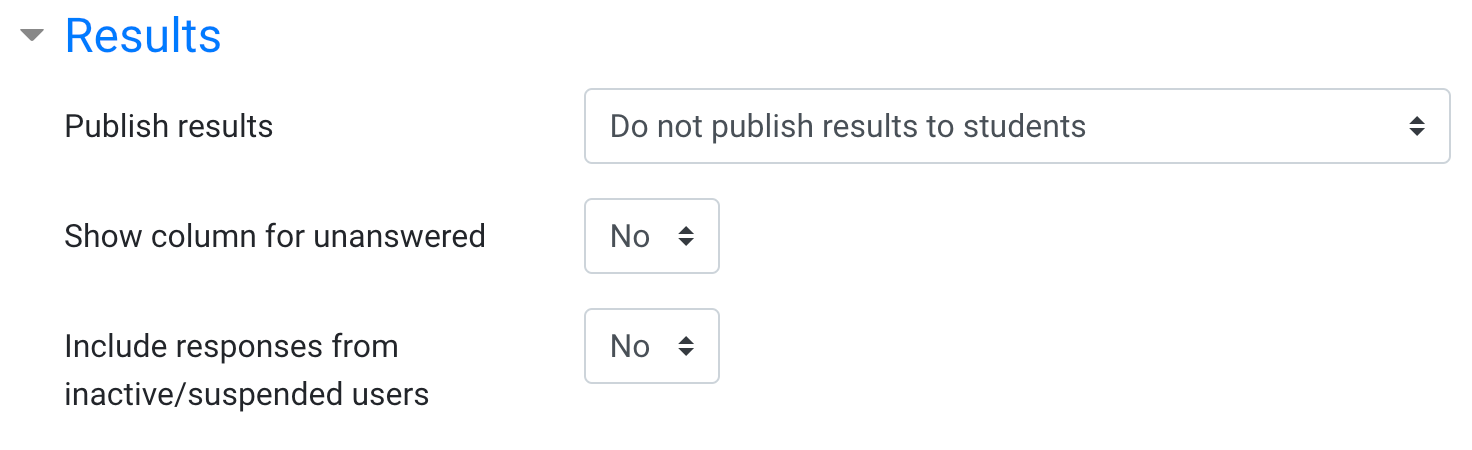
-
Results set if and when they will be shown to students. You can also add extra columns to the poll results.
Database enables participants to create, maintain, and search a collection of entries. The structure of the entries is defined using different types of fields, such as short text, dropdown list, text area, URL, image, or file.
Livevoting enables students to vote via their smartphone or their laptop and to have the results displayed on a graph in real time. The Livevoting activity is ideal to capture the attention of wide groups. It increases interactions between “Professors-Students”. Therefore, it supports a flipped class type of activity.
Livevoting can be used in class to check knowledge at the end of a course or to animate theoretical presentations.
Feedback enables a teacher to create a custom survey for collecting feedback from participants using a variety of question types including multiple choice, yes/no or text input.
The forum activity module enables participants to have asynchronous discussions i.e. discussions that take place over an extended period of time.
H5P is an abbreviation for HTML5 Package - interactive content such as presentations, videos and other multimedia, questions, quizzes, games and more. The H5P activity enables H5P to be uploaded and added to a course. Any question attempts are marked automatically, and the grade is recorded in the gradebook.
Lesson enables a teacher to deliver content and/or practice activities in interesting and flexible ways.
This module allows the teacher to design offline quizzes consisting of multiple choice questions. These questions are kept in the Moodle question bank and can be re-used within courses and even between courses. The offline quizzes can be downloaded as PDF-, DOCX- or LaTeX-files. The students mark their answers on form sheets. The form sheets are scanned and the answers imported into the system.
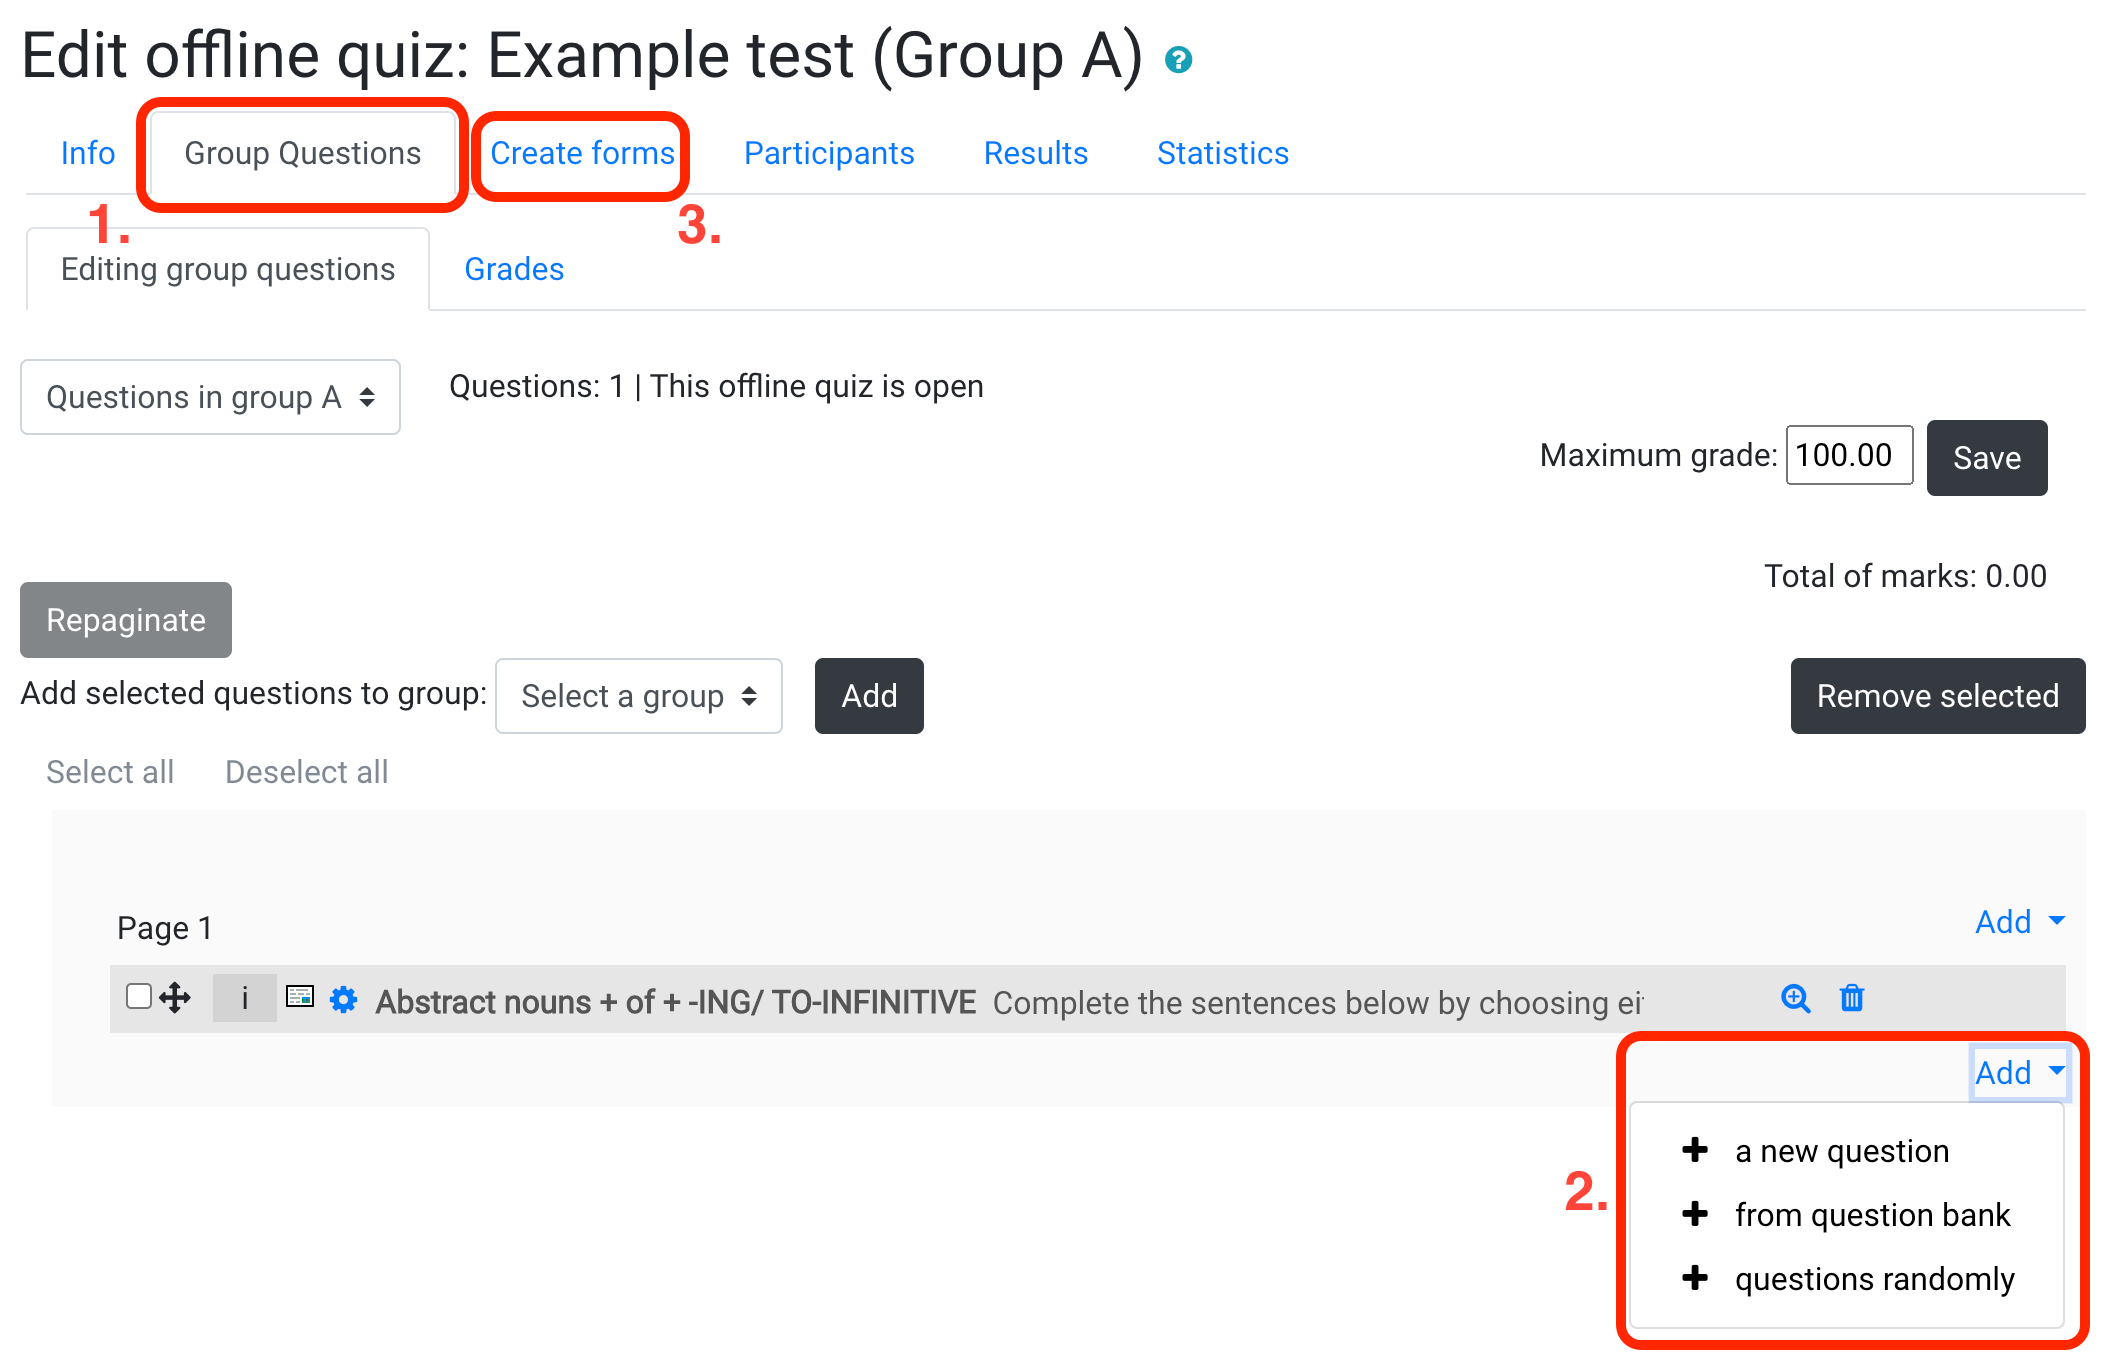
After creating the Offline quiz module, press the Save and display button. In the Group Questions (1) tab, add questions to the quiz. You can select questions from the question bank or create new ones (2). The next step is downloading the forms in the Create forms tab (3). Here you will find 3 types of documents:
- Question form – a list of all question and possible answers.
- Answer form – a form for students to complete, which must then be scanned.
- Correction form – a list containing the solutions to the test and the scores for each answer.
The completed quiz must be scanned and uploaded to the Offline quiz activity in the Results tab. The uploaded tests will then be automatically evaluated within 10 minutes. In case of incorrectly filled in parts of the quiz (e.g., wrong identifier, illegible fields), it is necessary to manually correct the incorrectly filled in parts in the results tab.
The module allows you to create lists of students who should be present at a given test in the Participants tab. Here, in the same way, as for the test itself, the examiner can generate a form with a list of students, for which they then check whether they were present at the quiz. This form can then be uploaded and evaluated in this tab.
Quiz enables a teacher to create quizzes comprising questions of various types, including multiple choice, matching, short-answer and numerical.
The teacher can allow the quiz to be attempted multiple times, with the questions shuffled or randomly selected from the question bank. A time limit may be set.
Each attempt is marked automatically, with the exception of essay questions, and the grade is recorded in the gradebook.
The teacher can choose when and if hints, feedback and correct answers are shown to students.
Quizzes may be used as course exams; as mini tests for reading assignments or at the end of a topic; as exam practice using questions from past exams; for self-assessment etc.
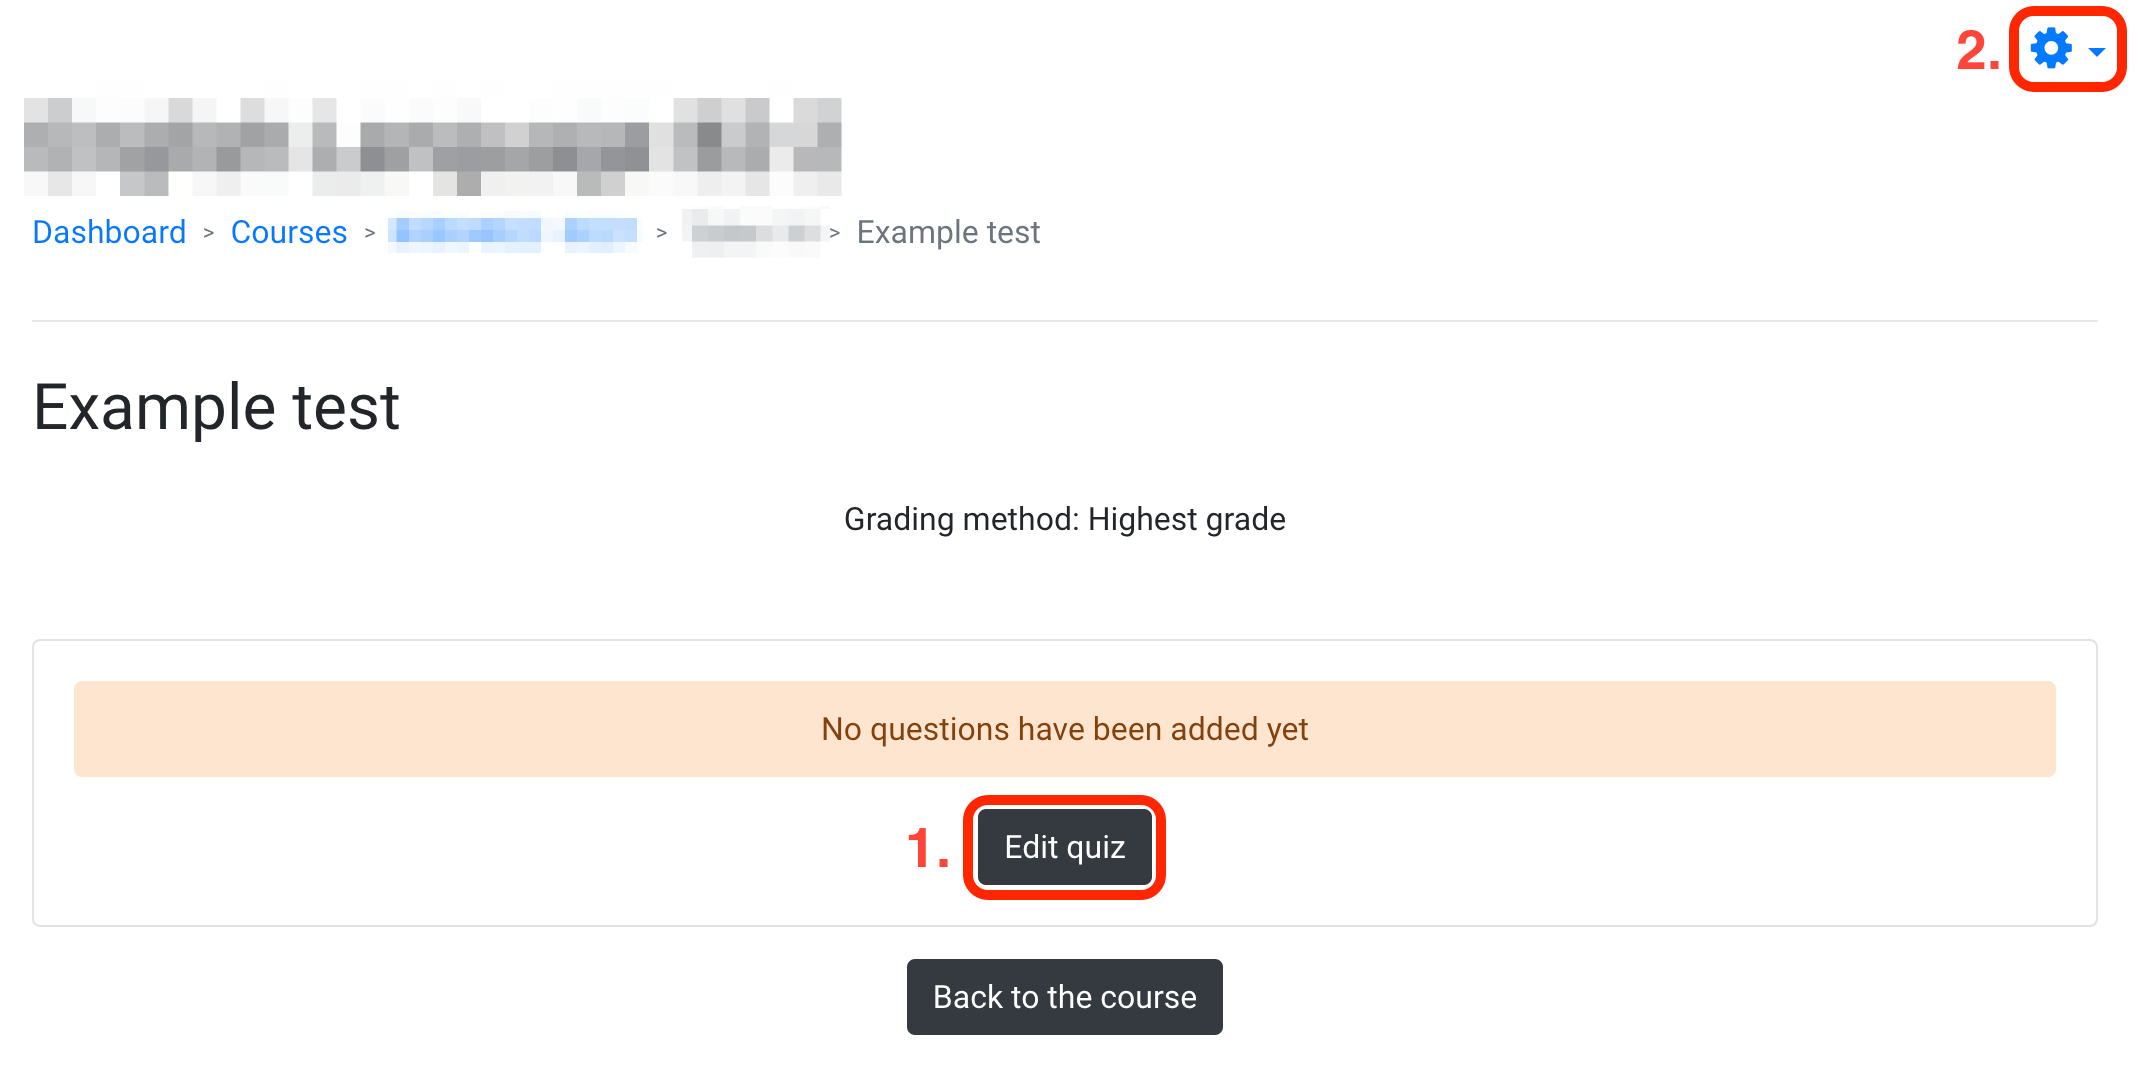
The newly created quiz does not contain any tasks. You can change this in the editor by clicking the Edit quiz button. You can find the button right on the page (1) or in the menu under the gear icon (2).
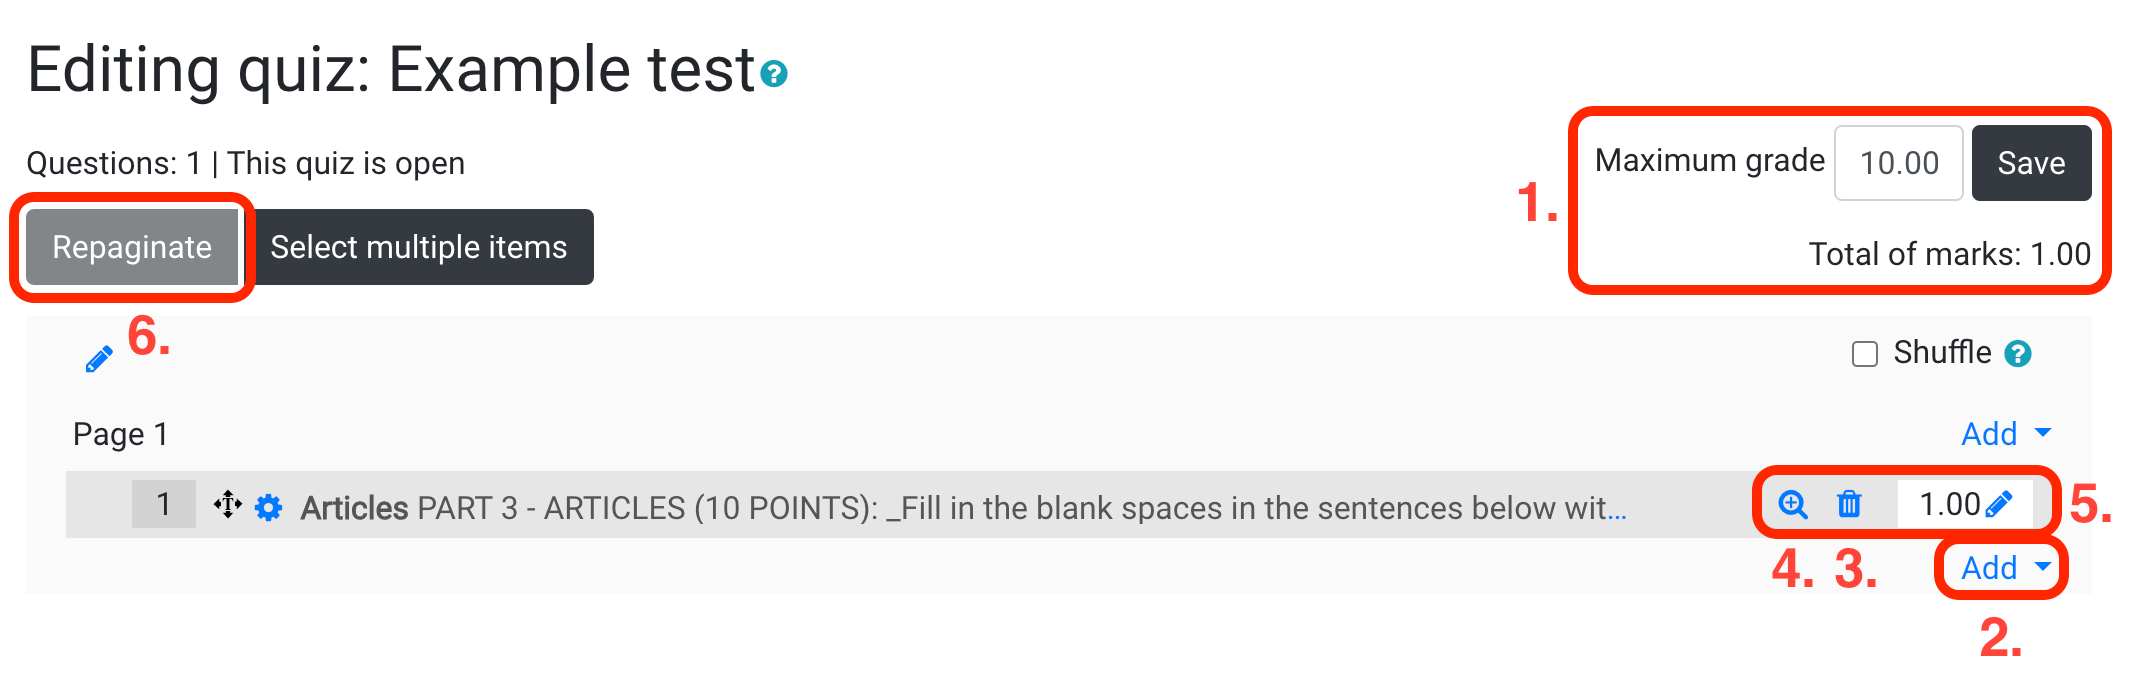
Now you have an editor in front of you where you can set the maximum grade and add questions. The “Maximum grade” value is written into the grading module. It is good if the “Maximum grade” value matches the “Total of marks” (1).
You can add new questions by clicking the Add button (2). It is possible to randomly add tasks from the question bank, create a new one, or choose them from the question bank.
You can remove a question with the trash icon (3), see the details with the magnifier icon (4), and you can change the number of points for a task with the box with the pencil icon (5). If you want to adjust the pagination (number of questions per page), use the Repaginate button (6).
SCORM package is a collection of files which are packaged according to an agreed standard for learning objects. The SCORM activity module enables SCORM or AICC packages to be uploaded as a zip file and added to a course.
Wiki enables participants to add and edit a collection of web pages. A wiki can be collaborative, with everyone being able to edit it, or individual, where everyone has their own wiki which only they can edit. A history of previous versions of each page in the wiki is kept, listing the edits made by each participant.
This activity module enables the collection, review and peer assessment of students’ work. Students can submit any digital content (files), such as word-processed documents or spreadsheets and can also type text directly into a field using the text editor.
More information about each activity is available on the official Moodle documentation pages.